Getting Local
Creating a local website
1. Create a Local Directory
Navigate to your local 📂~/Sites folder (if you don’t have one already, make one!) and create a subfolder named 📂core-2-interaction.
2. Open VS Code
You can open your recently created folder in VSCode by dragging it onto the VS Code icon in Mac OS dock:
3. Create an Index file and Favicon
Right click the sidebar in the left of the window to create a new file. Name it 📄index.html. Create a basic HTML file and add a message, like “Hello, World!”. This will be your website’s homepage:
<!DOCTYPE html>
<html lang="en">
<head>
	<meta charset="UTF-8">
	<meta name="viewport" content="width=device-width, initial-scale=1.0">
	<title>Bryant's Homepage</title>
</head>
<body>
	Hello, World!
</body>
</html>
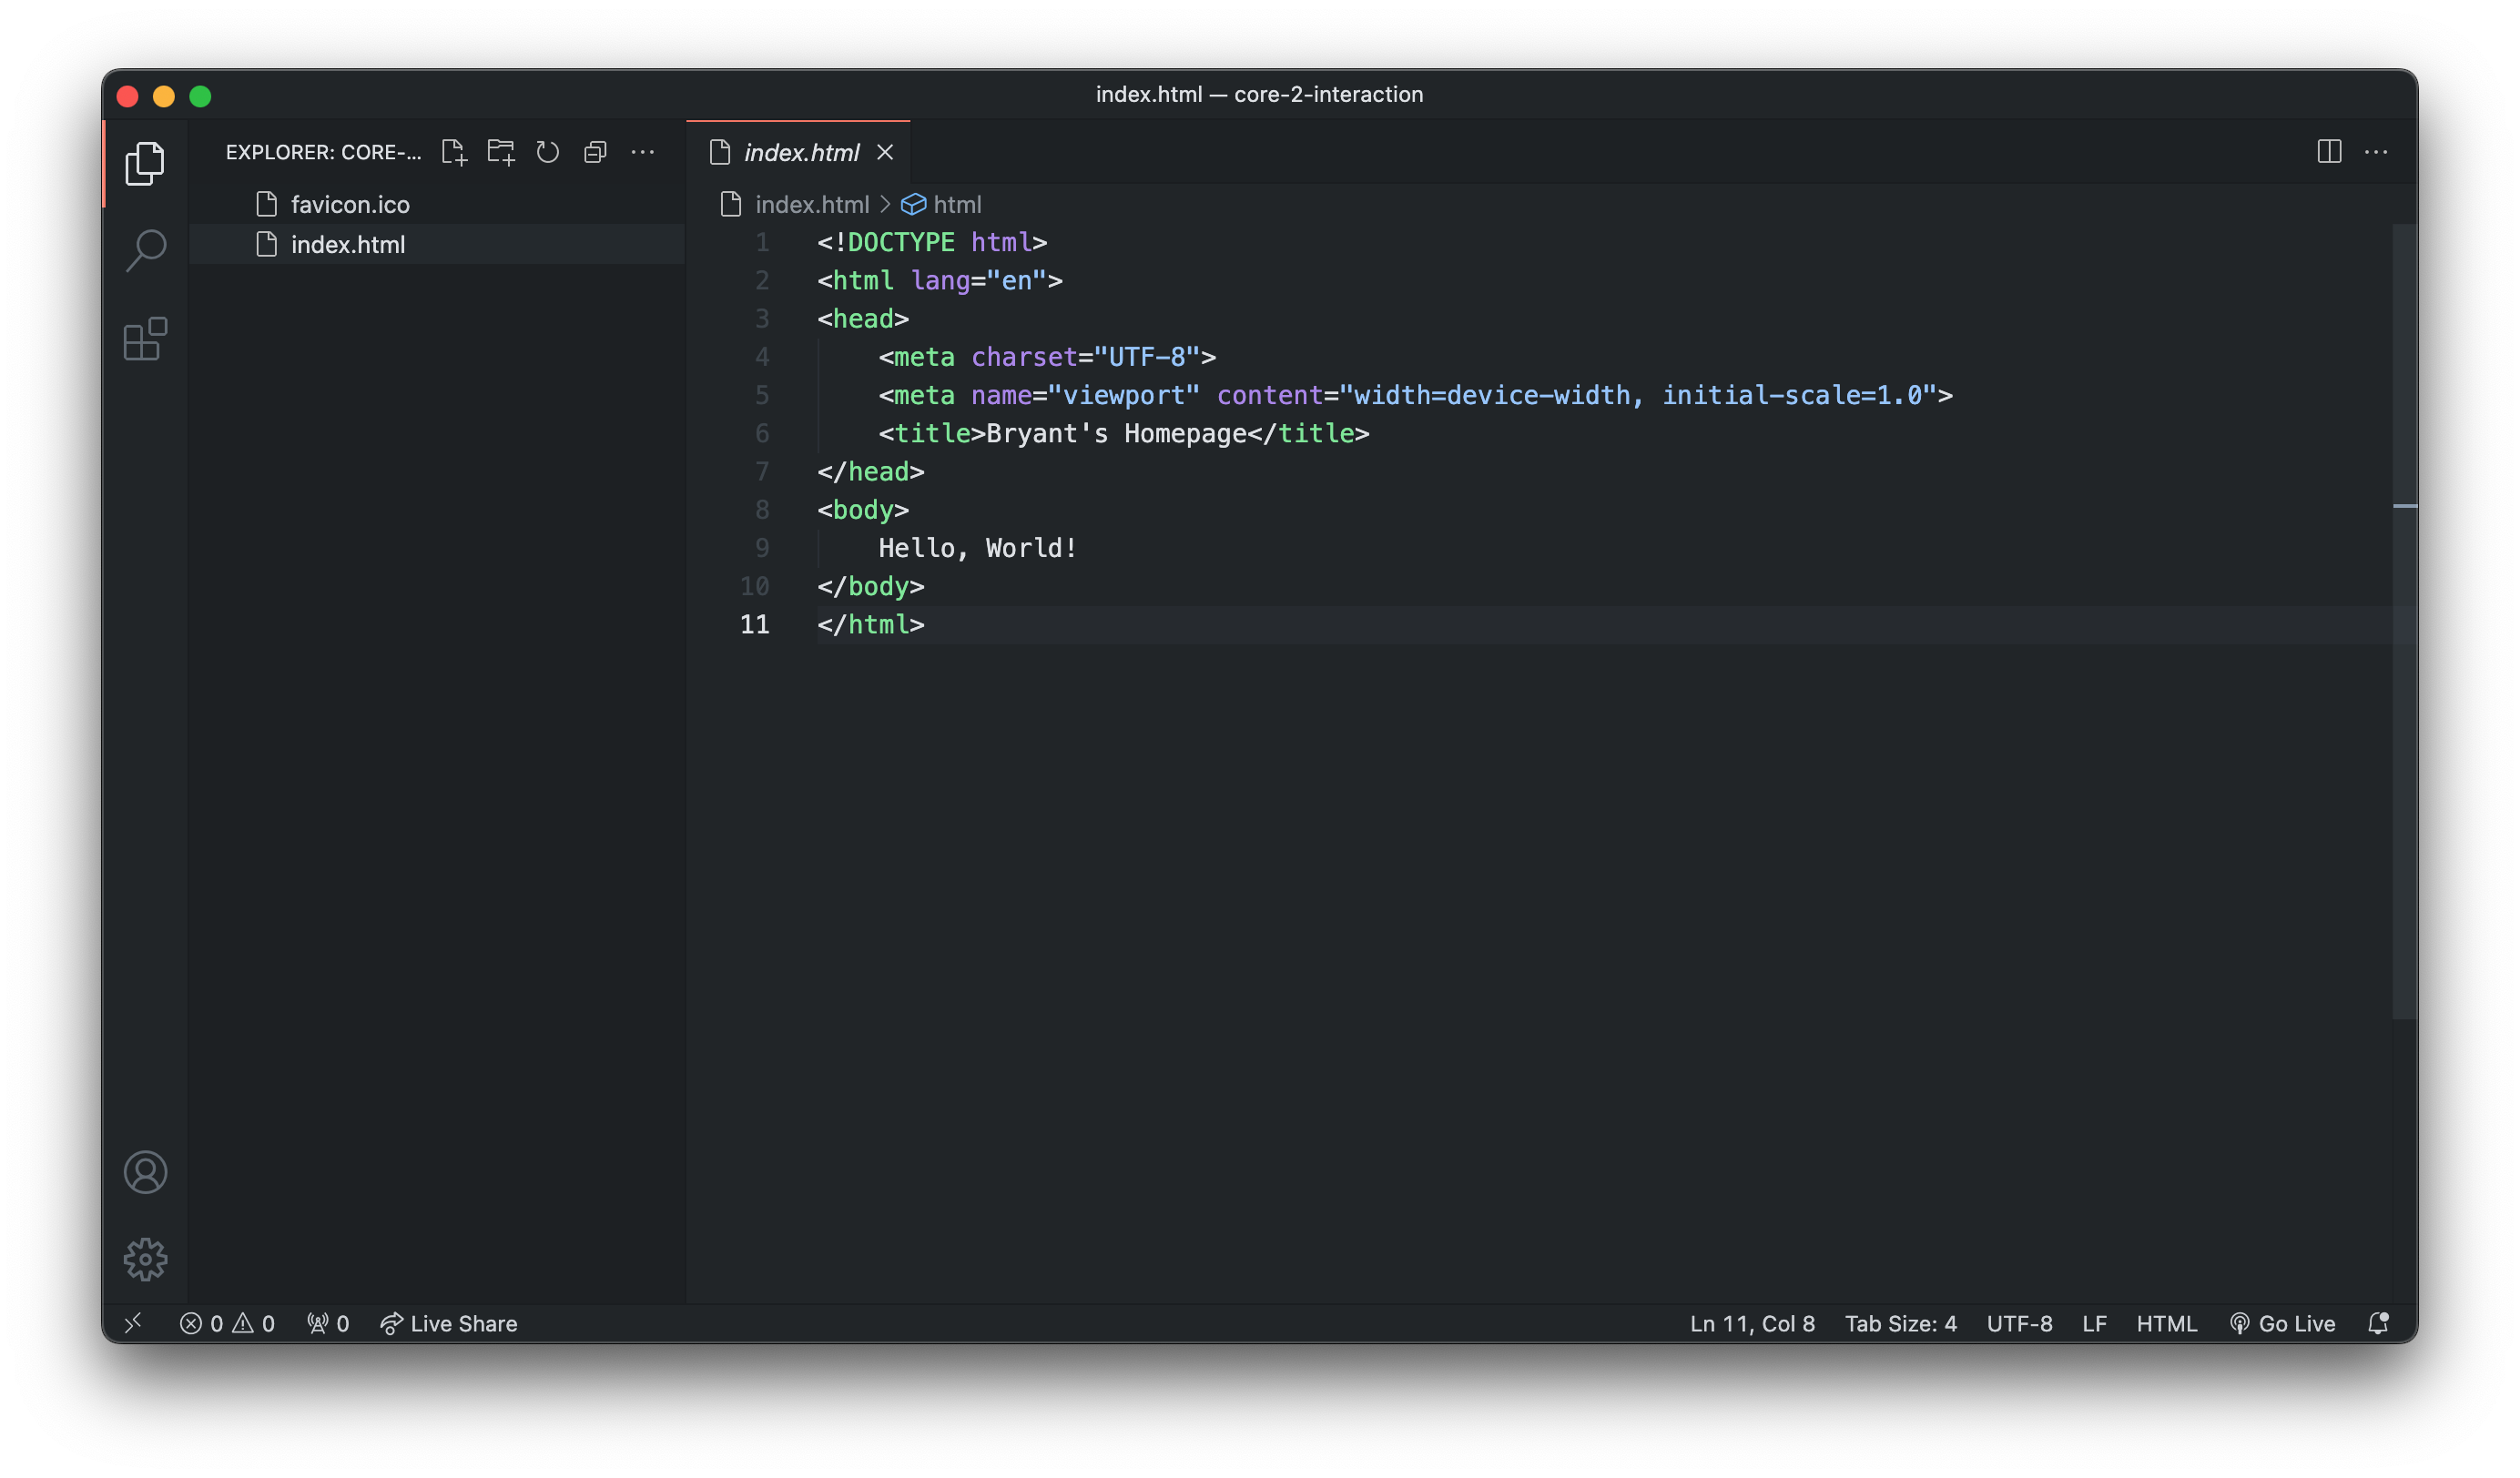
Next, locate the favicon you made in Studio and add drag in into the sidebar. This will copy your favicon into your site’s directory. When you’re done, your workspace should look like this:
4. Test your Local Website
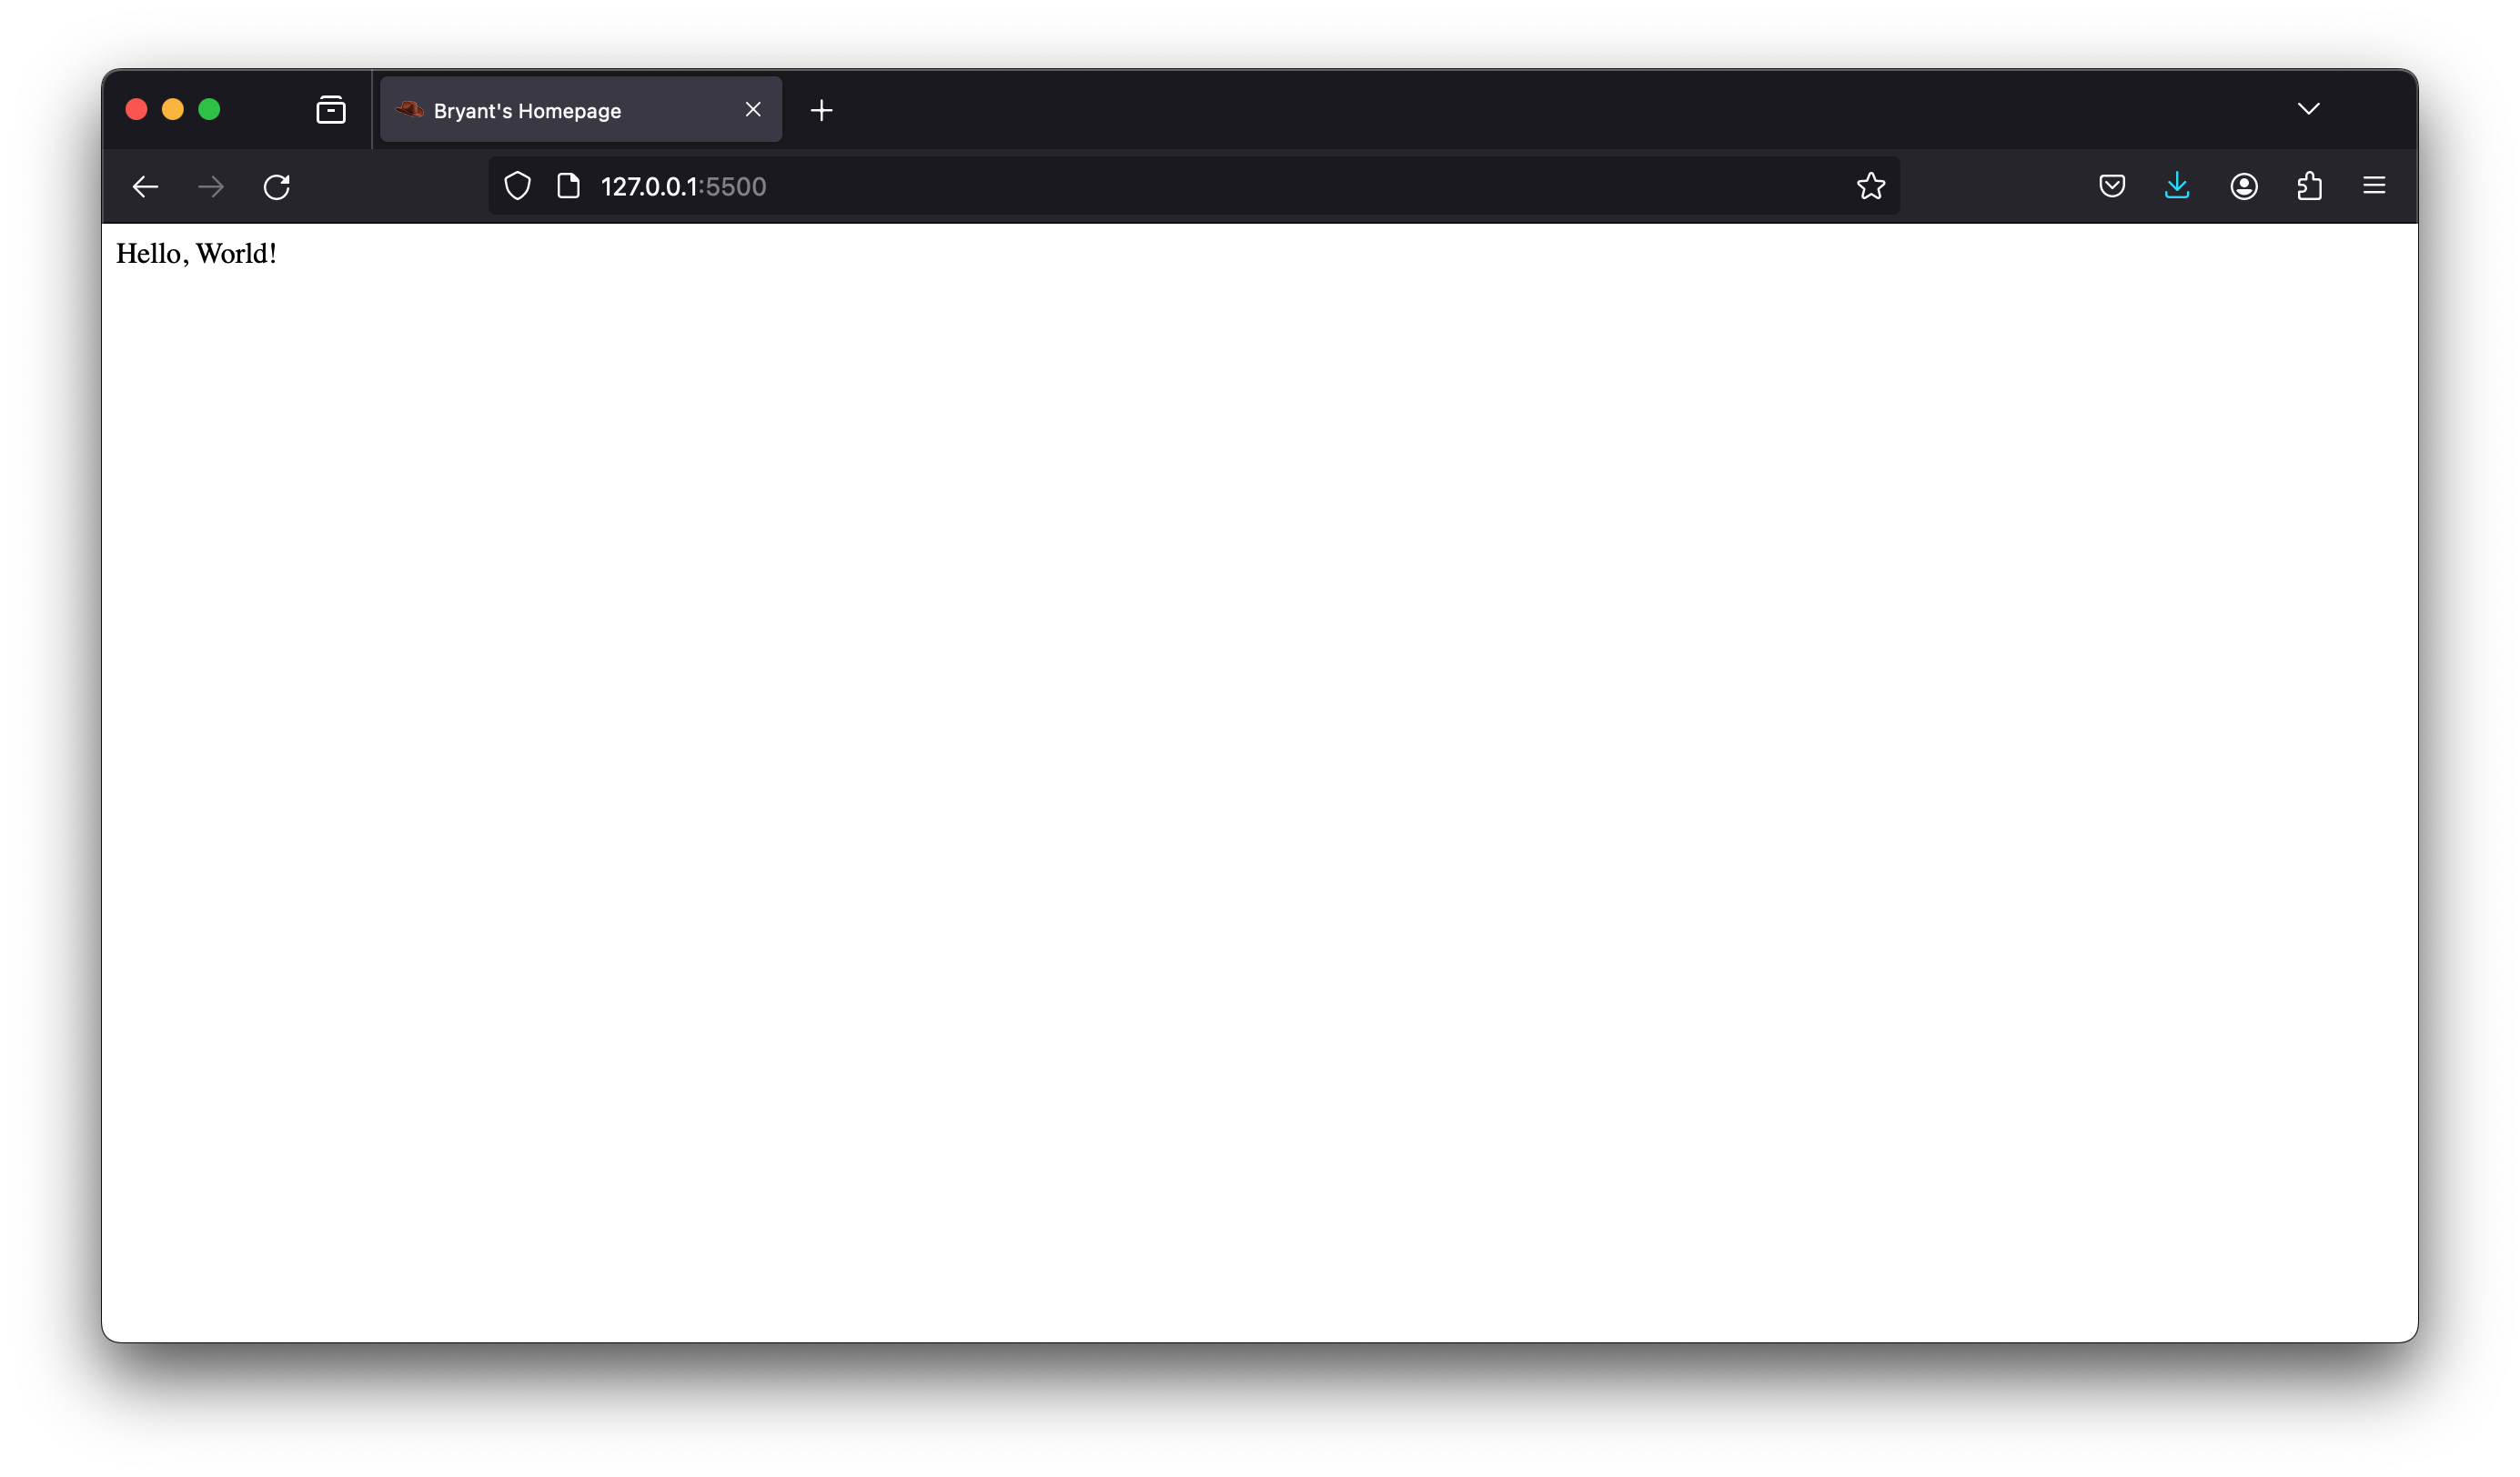
Now, test your local website by clicking the Go Live button on the bottom right of the VS Code window. This will create a temporary server on your computer – and should automatically open the window in your web browser:
At this point, your folder should have the following structure:
📂 core-2-interaction/
├─ 📄 index.html
└─ 🌸 favicon.ico